
Garage Floor Coating — Epoxy & Polyaspartic Systems
A proper garage floor coating isn't a weekend DIY project — it's a 6-step engineered system that bonds to your concrete at 400+ PSI and lasts 20 years. Here's exactly what goes into every install we do across Metro Vancouver and the Fraser Valley.
What a Proper Garage Floor Coating Actually Involves
Every CreativSurfaceLab garage floor goes through this exact 6-step process. No shortcuts, no "one-day" installs, no acid etching. This is why our floors last 20 years when big-box kits fail in 2.
Slab Assessment & Moisture Testing
Before grinding, we assess the concrete's age, hardness, existing coatings, slope, cracking, and moisture conditions. These findings determine the preparation method and whether a moisture vapour barrier system is required.
Diamond Grinding
We mechanically profile the concrete with industrial diamond grinders until the correct concrete surface profile is achieved for the specified coating system. We do not rely on acid etching as a substitute for mechanical preparation.
Crack & Surface Repair
Cracks, spalls, and damaged areas are repaired after profiling so the coating system is installed over a sound, properly prepared surface. Repair materials are selected for the condition and movement of the slab.
MVB Primer & 100% Solids Build Coat
The prepared slab receives a primer coat using a moisture vapour barrier, followed by another 100% solids MVB build coat. This creates the foundation for the selected decorative system.
Flake Broadcast or Metallic Pour
For flake systems: we broadcast vinyl chips to full rejection (complete coverage, no bare spots). For metallic: we pour and manipulate metallic pigments to create unique, one-of-a-kind patterns. For solid colour: we roll a second coat of pigmented epoxy.
System-Specific Topcoat
Flake systems are finished with a UV-stable polyaspartic topcoat. Metallic and solid-colour systems receive the appropriate urethane or high-gloss topcoat. We select the finish for the system, traffic, UV exposure, and appearance required.
Flake vs Metallic vs Solid Colour vs Grind-and-Seal
Each system has trade-offs. Here's an honest comparison to help you choose the right garage floor coating for your space and budget.
| System | Appearance | Slip Resistance | Hides Flaws | Price | Best For |
|---|---|---|---|---|---|
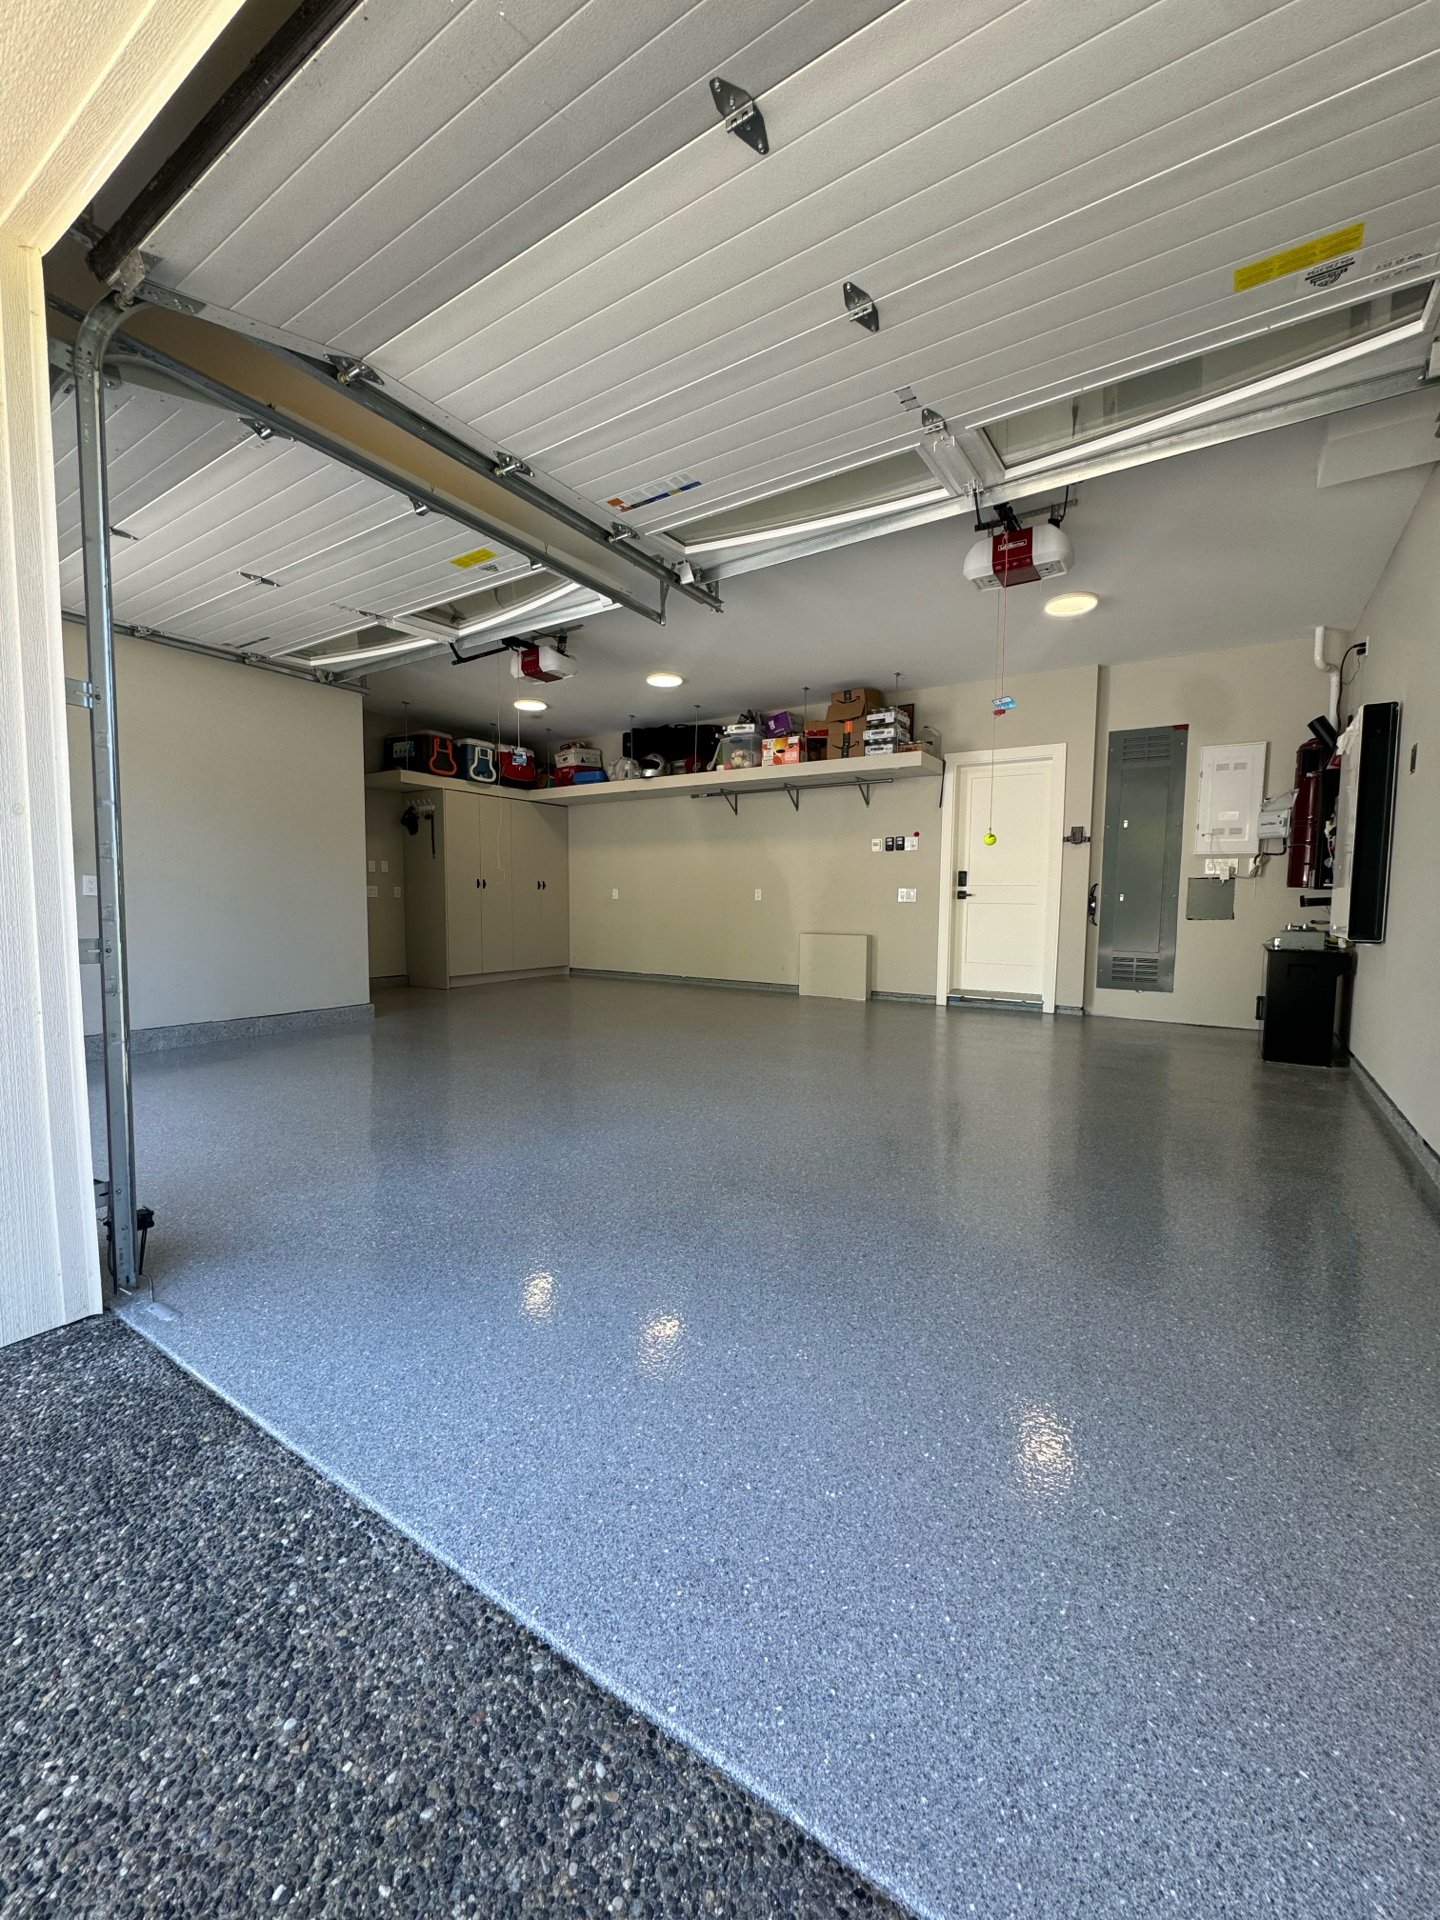
| Flake / Chip | Textured, multi-colour | Excellent (built-in texture) | Excellent (hides imperfections) | $5–$7/sqft | Garages, basements, workshops |
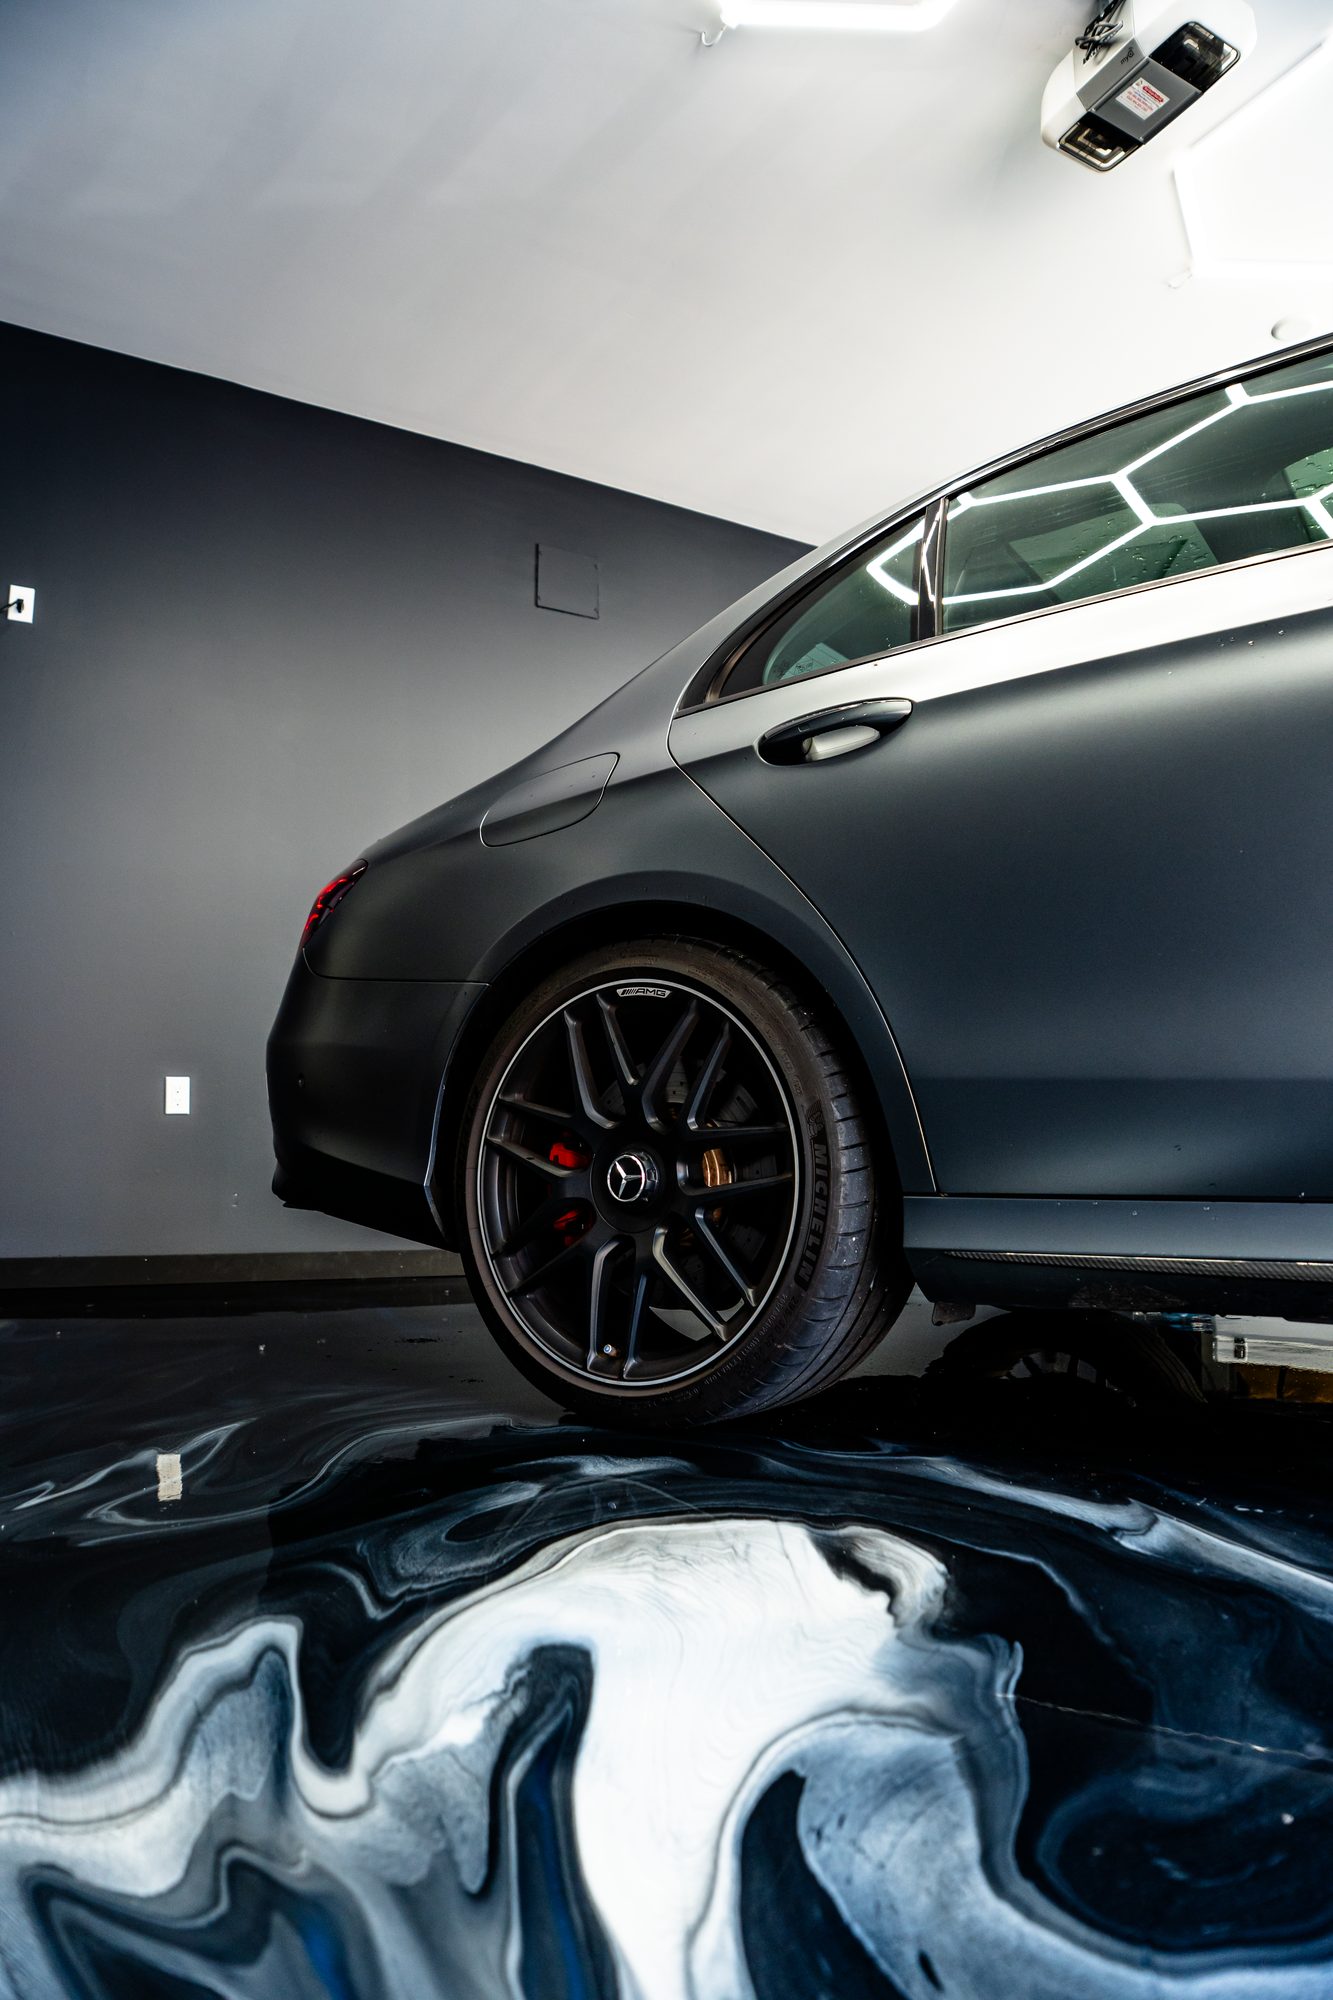
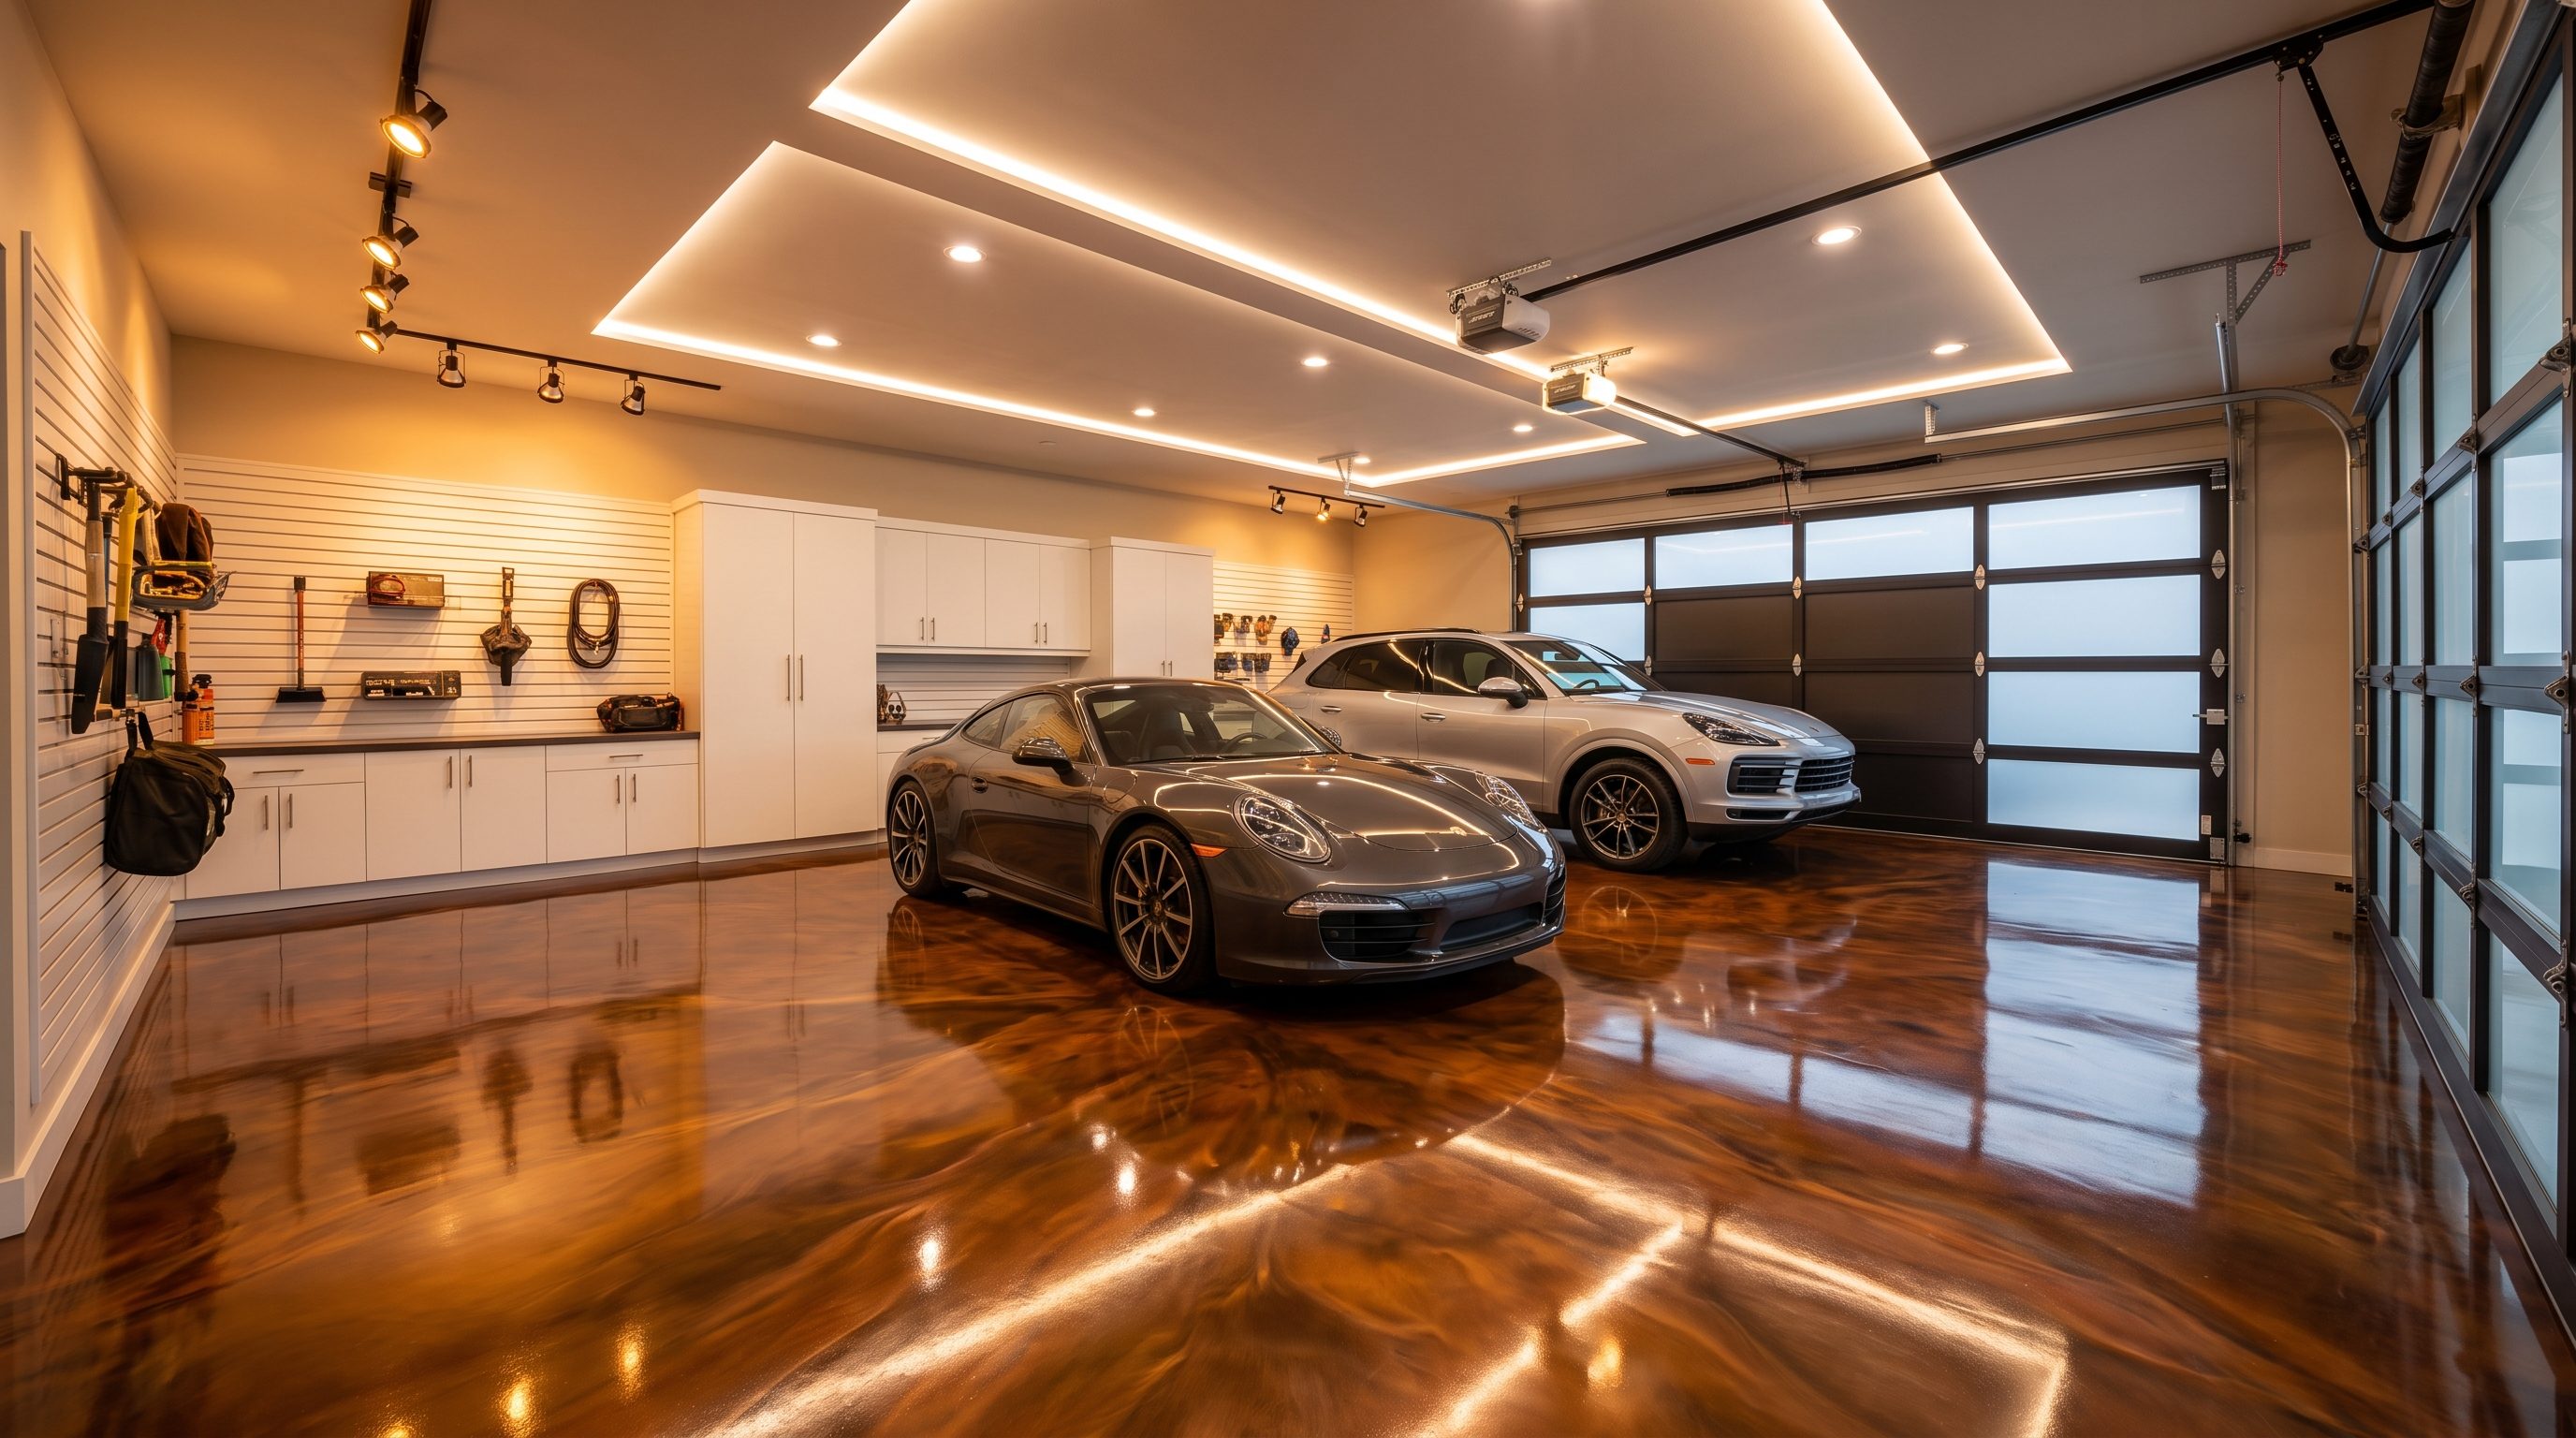
| Metallic Epoxy | 3D, flowing, high-gloss | Good (smooth finish) | Moderate | $12–$15/sqft | Showrooms, luxury garages, man caves |
| Solid Colour | Clean, uniform, professional | Good (can add anti-slip) | Low (shows dust) | $5–$7/sqft | Commercial, retail, clean rooms |
| Grind & Seal | Natural concrete, matte/satin | Moderate | Low | $3–$5/sqft | Minimalist look, budget-conscious |
Not sure which system is right for you? Browse our 65+ flake colour blends or download our brochure for a detailed comparison.
Why Diamond Grinding Matters (And Why "One-Day" Coatings Fail)
The #1 reason garage floor coatings peel, bubble, or delaminate within 2 years is inadequate surface preparation. Big-box kits tell you to acid etch. "One-day" coating companies use a light grind and rush the cure. Both approaches fail because they don't create a proper mechanical bond.
Diamond grinding removes the weak top layer of concrete (called laitance), opens the pores of the slab to a CSP-3 profile, and creates thousands of microscopic valleys for the epoxy to flow into and grip. The result is a bond strength of 400+ PSI — stronger than the concrete itself.
Acid etching, by comparison, only cleans the surface. It doesn't remove laitance, doesn't open pores, and creates an inconsistent profile that leads to hot spots where the coating lifts. We've re-done dozens of failed acid-etch jobs across Vancouver — it's the most common repair we perform.
Cure time matters too. Epoxy needs 12-24 hours between coats to cross-link properly. "One-day" companies stack all layers in a single visit, which means the base coat hasn't fully cured before the top coat goes on. The result: intercoat adhesion failure within 12-18 months. Our 2–5 day process exists because chemistry requires it.
Cure & Return-to-Service Timeframes
Light Foot Traffic
24 Hours
Walk on your new floor the next day
Vehicle Traffic
72 Hours
Park your car after 3 days
Full Chemical Cure
7 Days
Maximum hardness and chemical resistance
20-Year Warranty — What It Covers
Every garage floor coating we install comes with our written 20-year warranty. This isn't a marketing gimmick — it's a binding commitment that covers:
- Delamination and peeling — if the coating separates from the concrete for any reason related to our prep or materials
- Hot tire pickup — the coating won't lift when hot tires park on it (a common failure with cheap coatings)
- Yellowing and UV degradation — our polyaspartic top coat is UV-stable and won't amber over time
- Chemical resistance — oil, gas, brake fluid, road salt, and de-icing chemicals won't damage the finish
- Structural integrity — no cracking, chipping, or wear-through under normal residential or light commercial use
The warranty does not cover damage from impact (dropping heavy tools), dragging sharp objects, or using the floor for purposes beyond its rated load. Normal wear in high-traffic paths is expected over 20 years and is not a defect.
Garage Floor Coating Across Metro Vancouver
We install garage floor coatings across the entire Lower Mainland and Fraser Valley. Free on-site estimates in every city we serve.
Ready to Transform Your Garage Floor?
Get a free, no-obligation estimate. We'll visit your garage, test the concrete, and recommend the right system for your space and budget.
Or download our brochure for a detailed overview of our systems and pricing.